Rabona Tunnel: Your Localhost’s Secure Gateway to the World
Introduction
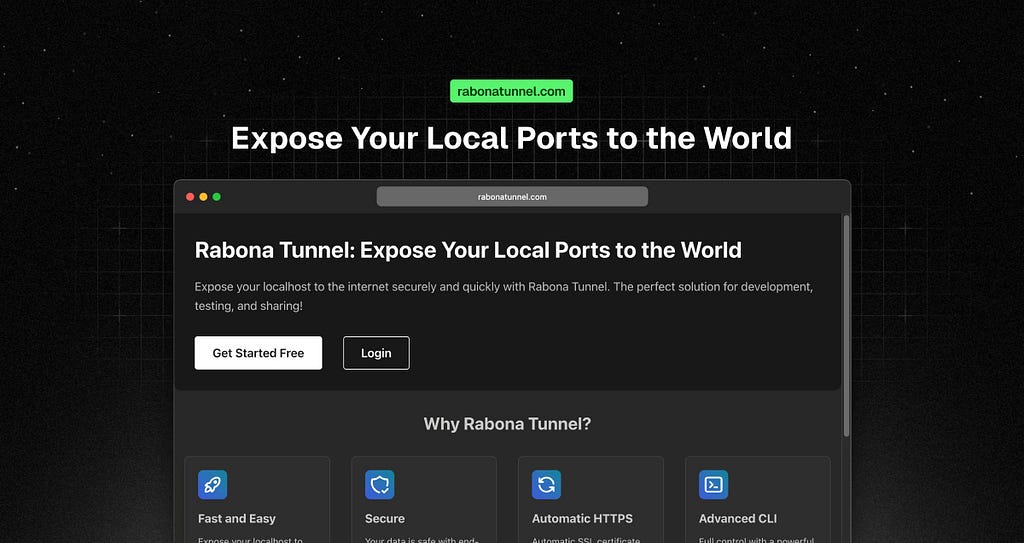
As developers, we often face challenges when it comes to sharing our local projects with others. Whether it’s for testing, demonstrations, or remote access, exposing your local development environment to the world can be daunting. That’s where Rabona Tunnel steps in!
Rabona Tunnel is a simple yet powerful tool that allows you to securely share your localhost over the internet. Let’s dive into what Rabona Tunnel is, why you should use it, and how you can get started in just a few minutes.
Why Rabona Tunnel?
With so many options for sharing your localhost out there, why choose Rabona Tunnel? Here are a few compelling reasons:
- Fast and Easy Setup: You can expose your localhost to the internet in seconds. No more complex setups, just a few commands and you’re ready to go.
- End-to-End Security: Security is paramount. Rabona Tunnel ensures your data is protected with end-to-end encryption, so you can focus on development without worrying about vulnerabilities.
- Real-time Monitoring: Track the status of your tunnel and incoming requests in real time, all through the command line interface.

Setting Up Rabona Tunnel 🚀
Step 1: Installation
To install Rabona Tunnel, all you need is Node.js and npm installed on your machine. Once that’s set up, simply run the following command:
npm install -g rabona-tunnel@latest
This will globally install Rabona Tunnel on your system, making it available to use from anywhere.
Step 2: Authentication
Next, you’ll need to authenticate. Head over to rabonatunnel.com and sign up to get your free authentication token. Once you have the token, add it to your Rabona Tunnel configuration:
rabona-tunnel config add-authtoken <your-auth-token>
Replace <your-auth-token> with the token you received from the website.
Step 3: Starting Your Tunnel
Now you’re ready to open a secure tunnel to your localhost! Let’s say you’re running a web server on localhost:3000. To expose it to the internet using Rabona Tunnel, simply run:
rabona-tunnel https -d http://localhost:3000
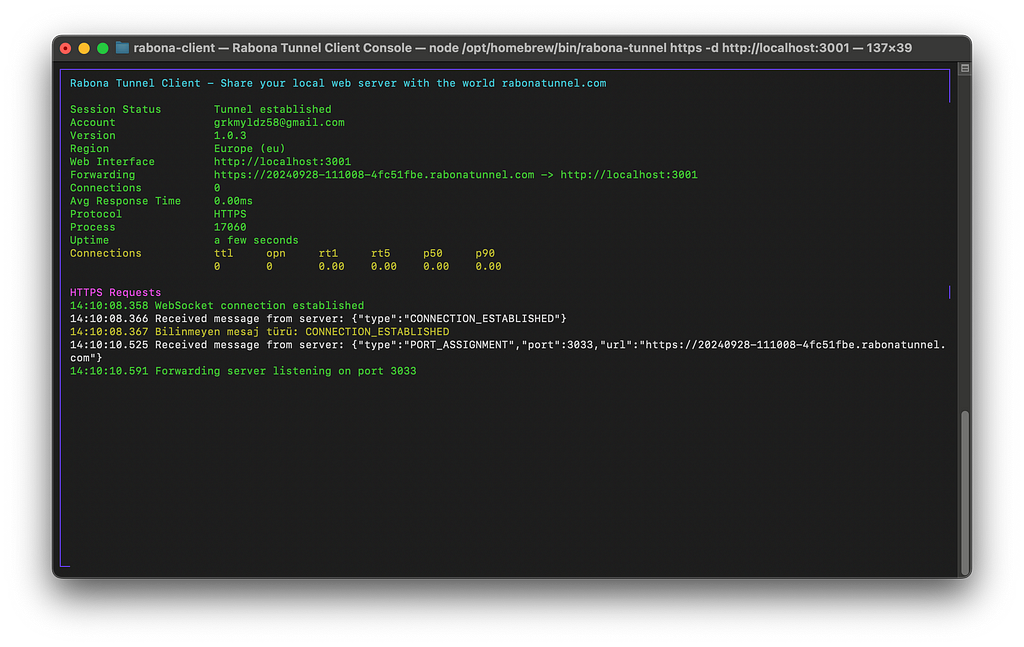
This command opens a tunnel and gives you a public URL you can share with others. The CLI also provides real-time monitoring, showing the connection status, forwarded URL, incoming requests, and more.
Use Case Scenarios
- Developers: Share your local projects with colleagues or clients for feedback without deploying it to a remote server.
- Freelancers: Easily demo your work to clients with a live URL, giving them a real-time look at your progress.
- Remote Access: Need to access your local development environment from a different location? Rabona Tunnel makes it possible.
Stopping the Tunnel
When you’re done, stopping the tunnel is as simple as pressing Ctrl+C in your terminal or typing q. This will immediately stop the connection and close the tunnel.
Final Thoughts
Rabona Tunnel makes exposing your localhost to the internet easier, faster, and more secure than ever. Whether you’re a solo developer working on a project or a team needing to collaborate remotely, this tool simplifies the process.
Ready to give it a try? Head over to rabonatunnel.com and get started for free!
Links
- NPM Package: https://www.npmjs.com/package/rabona-tunnel
- Website: https://rabonatunnel.com/
Contact
If you have any questions or need help getting started, feel free to reach out to me at grkmyldz58@gmail.com.
Orijinal yazı: https://gorkemyildiz.com/articles/rabona-tunnel-your-localhosts-secure-gateway-to-the-world-1750231850904


Yorumlar
Yorum Gönder